.png)

Top Plastering Tips for Your Hobart Home
- bearplastered
- Aug 3, 2025
- 4 min read
Plastering can seem like a daunting task, especially if you are new to home improvement. However, with the right tips and techniques, you can achieve a smooth and professional finish in your Hobart home. Whether you are patching up a small hole or redoing an entire wall, this guide will provide you with essential plastering tips to help you succeed.
Understanding Plastering Basics
Before you start plastering, it is important to understand what plaster is and how it works. Plaster is a mixture of water, sand, and cement that hardens when applied to walls and ceilings. It provides a smooth surface for painting or wallpapering.
When plastering, you will typically use one of two types of plaster: gypsum plaster or cement plaster. Gypsum plaster is easier to work with and dries quickly, making it ideal for interior walls. Cement plaster, on the other hand, is more durable and is often used for exterior surfaces.
Gather Your Tools
Having the right tools is crucial for a successful plastering job. Here are some essential tools you will need:
Trowel: A flat tool used to apply and smooth plaster.
Hawk: A flat board with a handle that holds plaster while you work.
Mixing bucket: For mixing plaster with water.
Sponge: To clean up any excess plaster.
Sandpaper: For smoothing out rough areas after the plaster has dried.
Make sure to gather all your tools before you start. This will save you time and keep your workspace organized.
Prepare the Surface
Preparation is key to achieving a great finish. Before applying plaster, you need to prepare the surface properly. Here are some steps to follow:
Clean the area: Remove any dust, dirt, or old paint from the wall. A clean surface helps the plaster adhere better.
Repair any damage: Fill in any holes or cracks with a suitable filler. Allow it to dry completely before proceeding.
Dampen the surface: Lightly mist the wall with water. This helps the plaster to stick and prevents it from drying too quickly.
Mixing the Plaster
Mixing plaster correctly is essential for a smooth application. Follow these steps:
Read the instructions: Different types of plaster may have specific mixing instructions. Always check the packaging.
Use clean water: Fill your mixing bucket with clean water.
Add plaster gradually: Slowly add plaster to the water while stirring. This helps to avoid lumps.
Achieve the right consistency: The mixture should be smooth and creamy, similar to peanut butter. If it is too thick, add a little more water. If it is too runny, add more plaster.
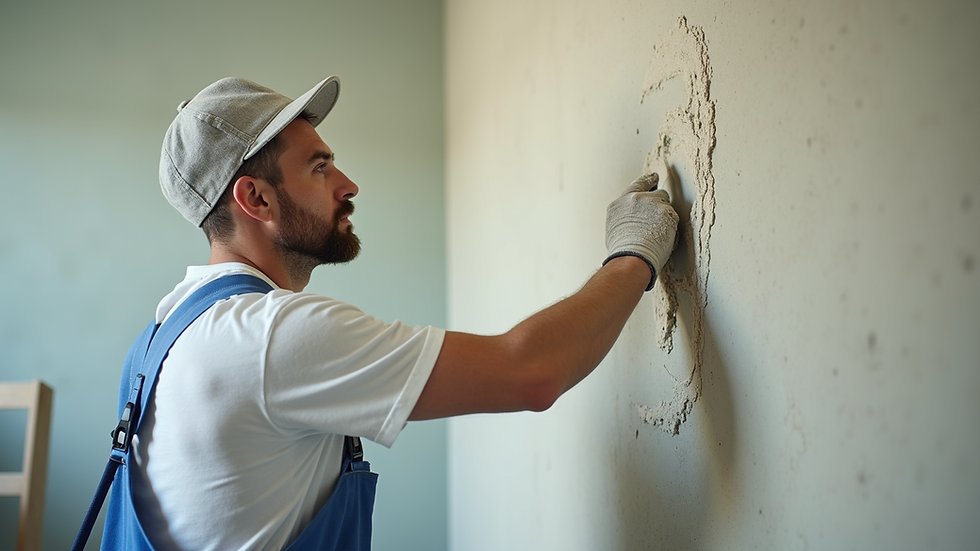
Applying the Plaster
Now that your surface is prepared and your plaster is mixed, it’s time to apply it. Here’s how:
Load your hawk: Scoop some plaster onto your hawk using your trowel.
Apply the plaster: Start at the bottom of the wall and work your way up. Hold the trowel at a slight angle and press the plaster onto the wall.
Smooth it out: Use long, even strokes to spread the plaster. Keep your trowel clean by wiping it with a damp sponge as you work.
Build up layers: If you need to apply multiple layers, allow the first layer to dry before adding more.
Finishing Touches
Once the plaster has dried, it’s time for the finishing touches. Here are some tips:
Sand the surface: Use sandpaper to smooth out any rough areas. Be gentle to avoid damaging the plaster.
Clean up: Remove any excess plaster from your tools and workspace.
Prime the surface: Before painting, apply a primer to help the paint adhere better.
Common Mistakes to Avoid
Even experienced plasterers can make mistakes. Here are some common pitfalls to watch out for:
Rushing the process: Take your time to ensure each step is done correctly. Rushing can lead to mistakes.
Ignoring drying times: Always allow plaster to dry completely before applying additional layers or paint.
Using too much water: Adding too much water to the plaster mix can weaken it. Stick to the recommended ratios.
When to Call a Professional
While many homeowners can successfully plaster their own walls, there are times when it is best to call in a professional. If you are dealing with extensive damage, or if you are unsure about your skills, hiring a professional can save you time and stress.
Professionals have the experience and tools needed to get the job done right. They can also provide valuable advice on maintaining your walls after plastering.
Maintaining Your Plastered Walls
Once your plastering project is complete, it is important to maintain your walls to keep them looking great. Here are some tips:
Regular cleaning: Dust your walls regularly to prevent dirt buildup.
Check for cracks: Inspect your walls for any signs of cracking or damage. Address these issues promptly to prevent further problems.
Repaint as needed: Over time, paint can fade or chip. Repainting your walls can refresh the look of your home.
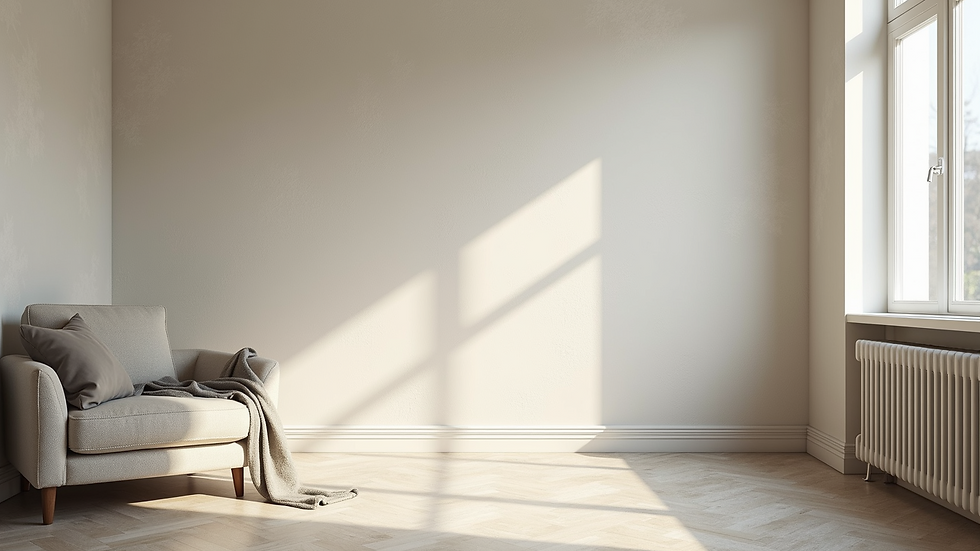
Final Thoughts
Plastering your Hobart home can be a rewarding project. With the right tools, techniques, and a little patience, you can achieve a beautiful finish. Remember to take your time, prepare your surfaces, and don’t hesitate to seek help if needed.
By following these plastering tips, you can enhance the beauty of your home and create a space you love. Happy plastering!

Comments